

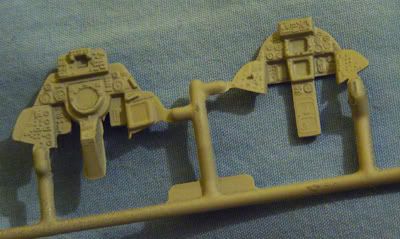
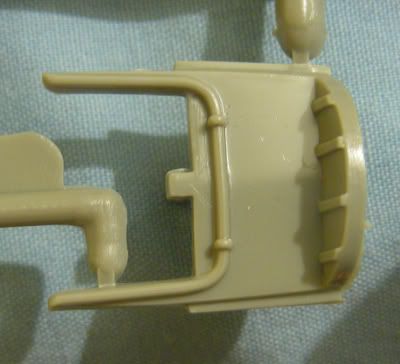
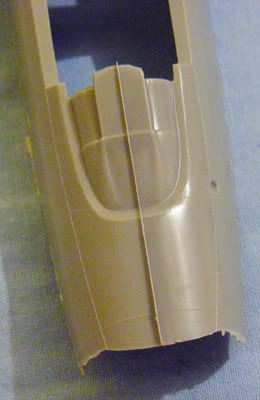
Over all, the Revell/Monogram F-14A kit, that I'm using as the baseline for this build, is well worth the money. The only downside of the kit is the lack of features on the ejection seats, the rudimentary features on the cockpit tub, the misshapen nose (error in molding, I believe) and the ever frustrating fact that there are no decent (at rest) exhaust burner cans molded for this kit. Pretty much, my only choices are to go aftermarket, scratchbuild, cannibalize or build a base featuring a runway in it. When an F-14 shuts down, the hydraulic pressure bleeds off leaving one burner can fully open, one completely closed...the right burner can being open, the left closed. My solution is to try to salvage the Fujimi closed burner can or if the worst case scenario happens, I'm going to target Aires and get their Hasegawa F-14 Closed Burner Cans Aires #4121 resin exhaust can detail set.
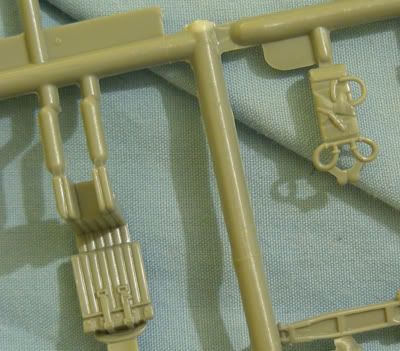
I also plan to scratchbuild straps and buckles for the GRU-7 ejection seats due to the fact that the injection-molded straps are plain and not very well thought-out. I will try to detail the seat, hooking up hoses (small piano wire painted dark grey/black). Of course, I could just get resin GRU-7s and do it that way, however learning to scratchbuild is all part of the learning process of building a kit, I find that the shaft that holds the GRU-7 can be scratchbuild from the sprue holding the 2 instrument panels, it just needs a little refining (via a lathe?) to get the shape right. I also need to pick up some plasticard to make the plate fitting the shaft to the bang-seat and affixing another shaft to the RIO's cockpit tub. I know most people won't see this effort once the ejection seats are installed, however every bit of scratchbuilding experience, the better I'll become at it.

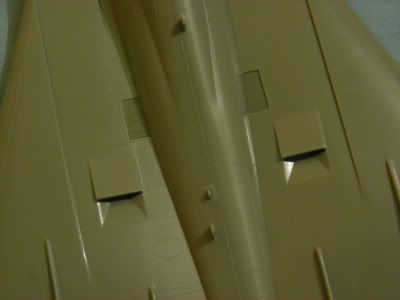
I also noticed a thick line of flash along the center of the upper half of the fuselage which will have to be sanded down, and the obscured panel lines rescribed. I presume this is from the advanced age of the mold that Revell/Monogram is using to produce the "A" kit. The plastic just bled between the two halfs of the upper fuselage half mold. There's also a couple of nasty scratches in the canopy.

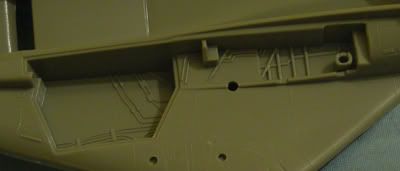
The hydraulics on the landing gear seem to be molded all right and I'm not of a mind to start tinkering with super-detailing the gear bays, nor am I in the mood to start goofing around with cutting open the electronics bays and start adding gizmos and whizz-bangs to the thing. All in all it's a basic OOB build with a few refinements and add-ons.
I did notice the "B" sprue in my kit, However that will remain unused for a different kit.

So that is my comprehensive pre-start review of this kit. Check back with me as I commence on this build.
Items I still need to procure before commencing.
* particulate filter breather mask.
* hose for my Paasche VL (my hose took a walk during my numerous moves)
* moisture trap
* a single-action airbrush for general coverage airbrushing.
* silent air compressor. I don't want to tick off my neighbors.
No comments:
Post a Comment